Earlier this year, when I attended the UC Berkeley web developer bootcamp, I learned about GraphQL. If you have been using React for a while, using GraphQL can be a game changer. There is an initial learning curve especially if you, like me are used to working with PHP and MySQL even though there are many similarities. But, once past the initial phase, it is very straight forward.
I created a few sites using React and GraphQL as part of my boot camp projects. I wanted to create a site completely from scratch with React and GraphQL using the Spoonacular API to get the recipes and save the data to the server.
There are probably a couple of different ways of doing this kind of websites. During the bootcamp, we learned about setting up multiple package.json files – one for the client, one for server and one for the overall project. This was super confusing to me. So, I decided to follow a few tutorials and get the site up and running with only one package.json where I can add all the dependencies and scripts. This was a bit challenging, but eventually I was able to get it working.
The first part was to setup the react site and the GraphQL server and have them both running at the same time on my localhost. I’ve used the create-react-app before to setup React sites which is fairly straight forward. I used Vite for the first time during the Bootcamp. Vite is a JavaScript build tool which is very fast and leverages the power of native ES modules. You can try Vite online here – StackBlitz. It runs a Vite based setup in the browser and you don’t need to install anything on your computer.
Creating the React site with Vite
It is simple and quick to setup a React site with Vite and GraphQL.
To create the React site with vite, I used the command below. I selected “React” as the framework and “JavaScript” as the variant. react-graphql-site is the name of the project.
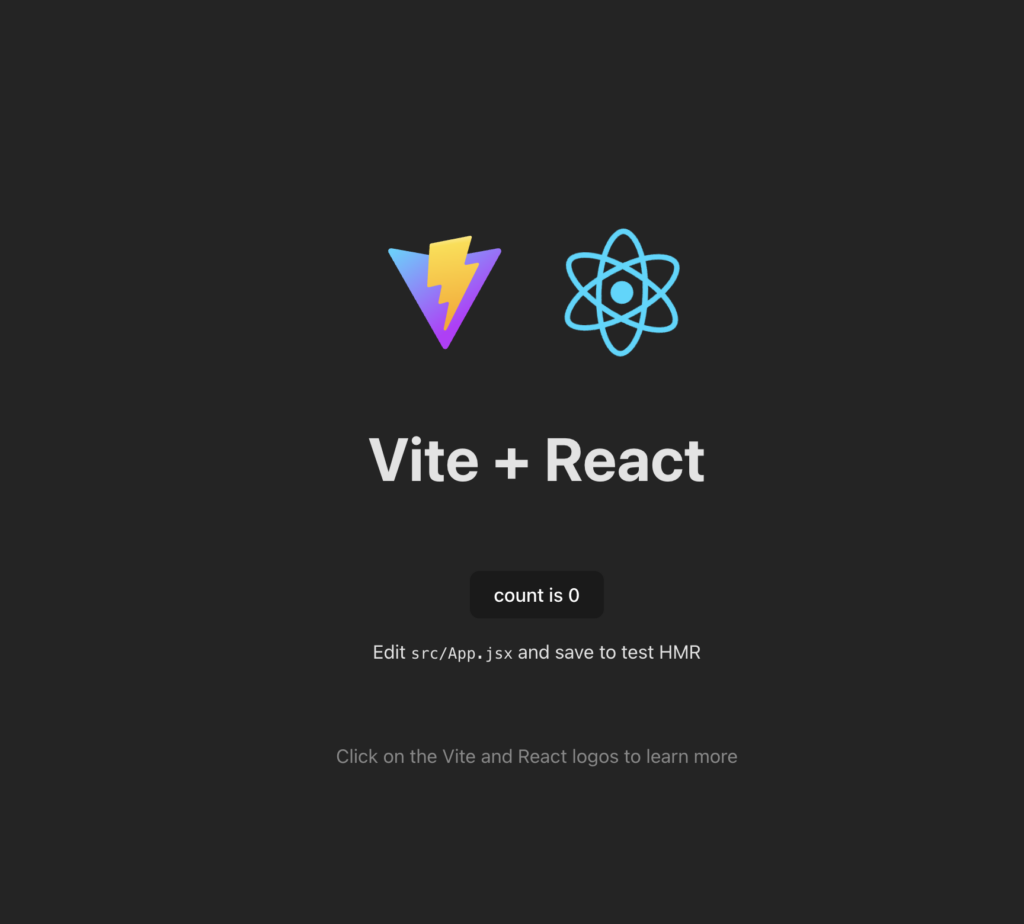
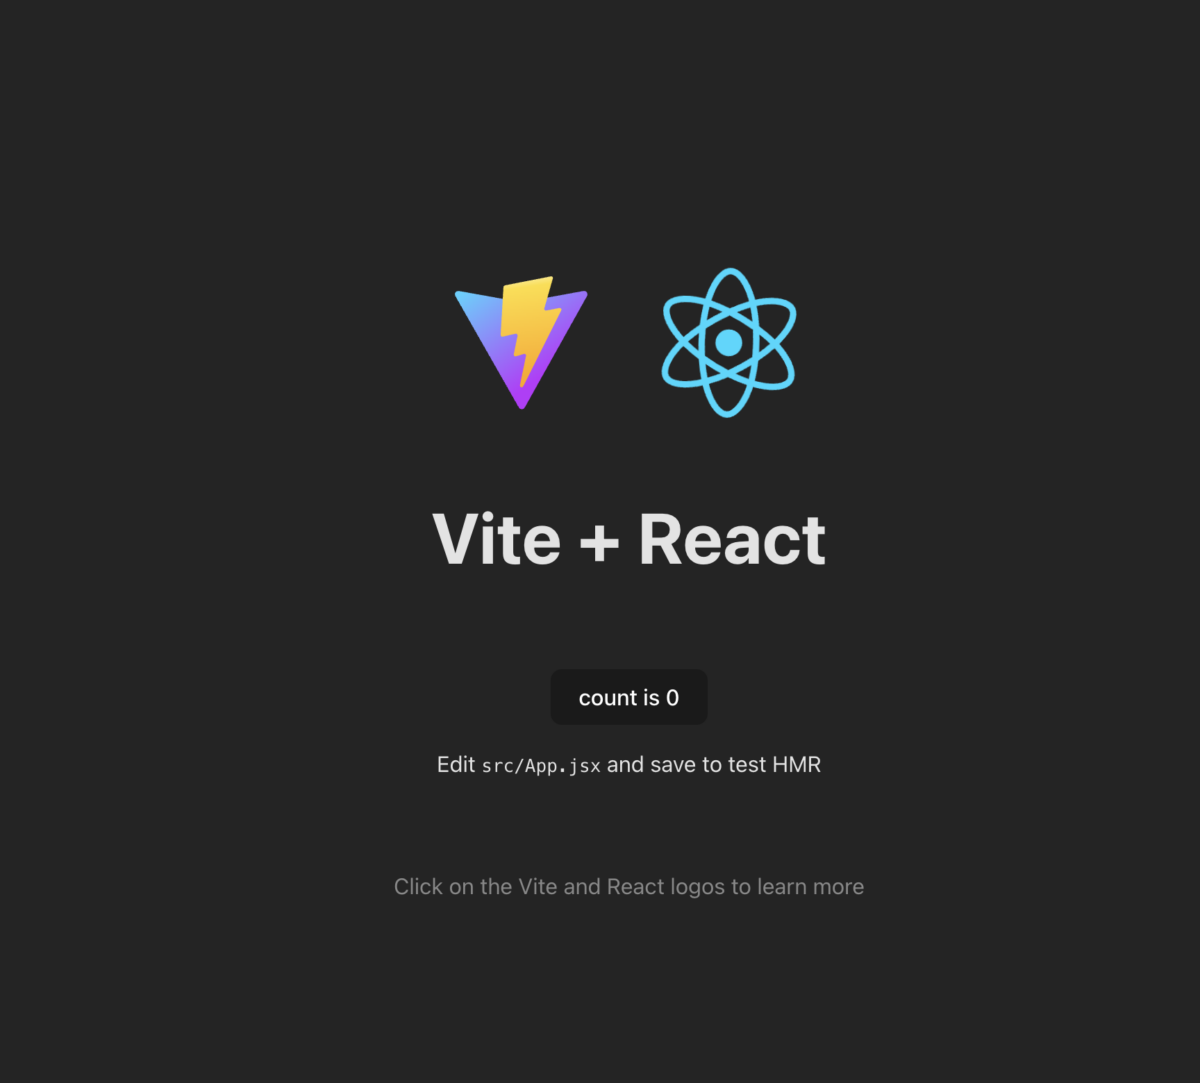
npm create vite react-graphql-siteOnce the site is created, I can go into the newly created folder, and run npm install and npm run dev . I was able to view my new react site at http://localhost:5173/. The site looks like this:

Setting up the client and the server
Once the site setup was done, I created two new folders – server and client. These folders are to separate the front end and back end code. After I created the folders, I followed the steps below to ensure the paths are correct and my scripts are working correctly.
- Moved the
publicandsrcfolders into theclientfolder - In index.html I changed the path for the vite logo and the main.jsx to point to the new path
- In client/src/App.jsx I changed the path of the viteLogo to point to the new path
- At this point I was still able to view the site by running
npm run dev
Here is the folder structure for the client folder:
└── client
    └── public
        └── vite.svg
    └── src
        └── assets
            └── react.svg
        └── App.css
        └── App.jsx
        └── index.css
        └── main.jsx
The next step was to install the required dependencies. I installed graphql, @apollo/client , @apollo/server , mongoose , bcrypt, concurrently
Once the dependencies were installed, I setup the server folder structure.
Here is the folder structure for the server folder.
└── server
    └── config
        └── connection.js
    └── models
        └── index.js
        └── User.js
    └── schemas
        └── index.js
        └── resolvers.js
        └── typeDefs.js
    └── server.js
Once the folder setup was done, I created the connection.js file in the config folder. Connection.js has the details for connecting to the database using Mongoose.
//import mongoose
const mongoose = require('mongoose');

//Connection string
const connectionString = process.env.MONGODB_URI || 'mongodb://127.0.0.1:27017/reactGraphqlDb';

//Connect to MongoDB
mongoose.connect(connectionString);
module.exports = mongoose.connection;
User Model with queries and mutations
I created a simple User model for my website in models/User.js.
const { Schema, model } = require('mongoose');
const bcrypt = require('bcrypt');

const userSchema = new Schema(
  {
    username: {
      type: String,
      required: true,
      unique: true,
    },
    email: {
      type: String,
      required: true,
      unique: true,
      match: [/.+@.+\..+/, 'Must use a valid email address'],
    },
    password: {
      type: String,
      required: true,
      minlength: 8,
    },
  },
  {
    toJSON: {
      virtuals: true,
    },
  }
);

// hash user password
userSchema.pre('save', async function (next) {
  if (this.isNew || this.isModified('password')) {
    const saltRounds = 10;
    this.password = await bcrypt.hash(this.password, saltRounds);
  }
  next();
});

// custom method to compare and validate password for logging in
userSchema.methods.isCorrectPassword = async function (password) {
  return bcrypt.compare(password, this.password);
};
const User = model('User', userSchema);
module.exports = User;
Then I imported the User model in models/index.js. Since I am planning to have a recipes model to save and edit the recipes, it will be easier to import all of the models using the index.js file.
const User = require('./User');
module.exports = { User };
The next step was to create the type definitions and resolvers in the schema folder. I don’t need to write the resolvers at this point, but I do need the file.
schemas/typeDefs.js
const typeDefs = `
   type User {
    _id: ID
    username: String
    email: String!
  }
  type Auth {
    token: ID!
    user: User
  }

  type Query {
    users: [User]
    user(userId: ID!): User
    me: User
  }
  type Mutation {
   createUser(username: String!, email: String!, password: String!): Auth
   login(email: String!, password: String): Auth
}
`;
module.exports = typeDefs;
schemas/resolvers.js
const resolvers = {
}
module.exports = resolvers;
Exporting the typeDefs and resolvers in the schemas/index.js file
const typeDefs = require('./typeDefs.js');
const resolvers = require('./resolvers.js');
module.exports = { typeDefs, resolvers };
Apollo Server and GraphQl
The next step was to initialize the Apollo server in server/server.js. I specified the port I wanted to use for my GraphQL server. The front end was loading at port 5173. I specified 3001 as the port for the back end GraphQL server. So, when it is all setup, I should be able to see the server running on http://localhost:3001/graphql
const express = require('express');
const { ApolloServer } = require('@apollo/server');
const path = require('path');
const { expressMiddleware } = require('@apollo/server/express4');
const { typeDefs, resolvers } = require('./schemas');
const db = require('./config/connection');
const app = express();
const PORT = process.env.PORT || 3001;
// Initialize Apollo Server
const server = new ApolloServer({
    typeDefs,
    resolvers
});
const startApolloServer = async () => {
    try {
      await server.start();
      console.log('Apollo Server started successfully'); // Debug log

      app.use(express.urlencoded({ extended: true }));
      app.use(express.json());

    app.use('/graphql', expressMiddleware(server, {
    }));

      db.once('open', () => {
        app.listen(PORT, () => {
          console.log(`API server running on port ${PORT}!`);
          console.log(`Use GraphQL at http://localhost:${PORT}/graphql`);
        });
      });

      db.on('error', (err) => {
        console.error('Database connection error:', err);
      });
    } catch (error) {
      console.error('Error starting Apollo Server:', error);
    }
  };
  startApolloServer();
After initializing the Apollo server, I added custom scripts in package.json. Here are the original scripts in the file:
"scripts": {
    "dev": "vite",
    "build": "vite build",
    "lint": "eslint . --ext js,jsx --report-unused-disable-directives --max-warnings 0",
    "preview": "vite preview"
  },
I added the “start” and “watch” scripts.
"scripts": {
    "dev": "vite",
    "build": "vite build",
    "lint": "eslint . --ext js,jsx --report-unused-disable-directives --max-warnings 0",
    "preview": "vite preview",
    "start": "node server/server.js",
    "watch": "concurrently \"npm run dev\" \"npm run start\""
The next step was to update vite.config.js to add the proxy to the graphql server.
export default defineConfig({
  plugins: [react()],
  server: {
    port: 5173,
    open: true,
    proxy: {
      "/graphql": {
        target: "http://localhost:3001",
        changeOrigin: true,
        secure: false,
      }
    }
  }
})
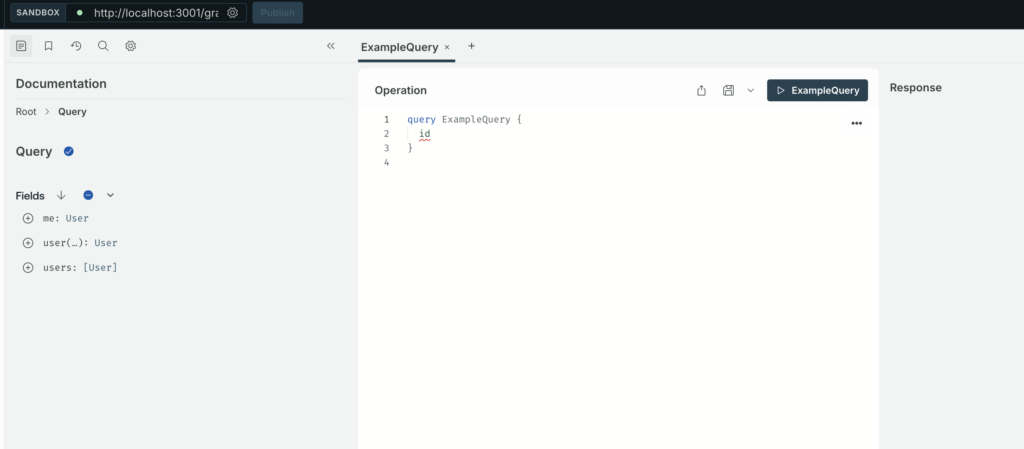
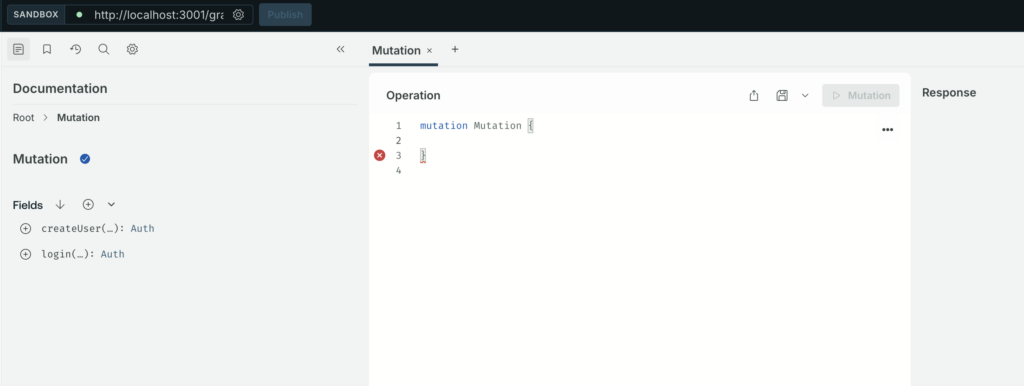
At this point, running npm run watch , loads the front end site at http://localhost:5173/ and the graphql server at http://localhost:3001/graphql. The watch script runs both the scripts – npm run dev for the front end and npm run start for the backend. “Concurrently” lets me run both scripts at the same time. By setting it up this way, I can test my queries and mutations on the backend and the front end.
Here is the graphql server on my localhost showing both the queries and mutations.


So, this was an easy and simple way to setup my React site with Vite and GraphQL.
